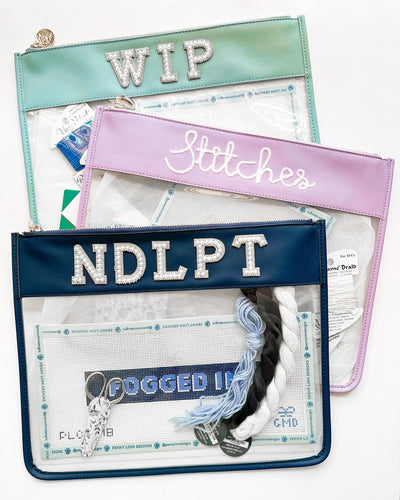
The Basic Needlepoint Stitches to Know
Welcome to the beautiful world of tent stitches. Tent stitches are made up of a collection of basic stitches that will help get you started on your needlepoint canvas. Under the umbrella of tent stitches are: the half cross stitch, the continental stitch, and the basketweave stitch. All of which look exactly the same from the front, but have different coverage on the back, and use different amounts of thread.
Half Cross Stitch
Let's start with the Half Cross stitch. I use this stitch the least of the three. I don't particularly love it because it doesn't offer much coverage on the back of my canvas, which is important for structural longevity. It also is not any easier than the continental stitch. There will be times when I'm switching rows, or dealing with a motif, where I need to do a half stitch, but for the most part I use others.

Continental Half Cross Stitch
Next, we have a hybrid of two tent stitches that what I like to call the Continental Half Cross stitch. Is this a real thing? I'm not sure, but it's what I used to stitch for the first five years of my needlepoint career so we're going with it. It's also what I suggest to people when they are first learning needlepoint, as (I think) it's the easiest stitch.

What makes this stitch so great is that you never change your diagonal direction. This means that you always go from top right to bottom left no matter which direction you are headed on your canvas. It's a combination of continental and half cross because each line you stitch will alternate these two stitches.
I always suggest this as the beginner stitch because if you can do it once, you can do it a hundred times. It will also help you visually learn what you're doing on the back, and learn how to transition to doing a continental stitch throughout.
The great thing about all these stitches is that no matter which you do, the front will always look the same. You can do one type as your background and another for your detail work, and no one would know the difference.
Continental Stitch
That brings us to our next stitch, the continental. This is what I primarily use because I'm used to it, and it's what I'm best at. It's the most consistent of all my stitches because I've been doing it the longest.
The continental is very much like the half-cross stitch, but it uses a medium amount of thread and has a medium amount of coverage on the back of your canvas. The motions are also the same as the half cross, but they go in an opposite direction on the back of your canvas. Think about the thread on the back going the long way to the next hole instead of the shortcut.

The continental is also my most used because it's super versatile on your canvas. You can go horizontally, vertically, diagonally, work with letters, images, you name it! You can also do this with half cross and the combo continental half cross, but I thought it would be easiest to show you under the umbrella of the continental stitch.
Here are two examples of using it in a diagonal line, which you would only do for an image/motif or lettering, and never for a larger background. Below is an example of how you would use it for a letter, from our Ew, David sweater!


Basketweave Stitch
And then finally, we have basketweave. Out of all the tent stitches, this uses the most amount of thread and provides the most coverage for your canvas. Anything stitched in a basketweave will last you forever. Trust me.
Basketweave and continental are the two most popular stitches I've seen people use. Most needlepointers are pretty set in their ways when you ask them which one they prefer. But really it's all about personal preference! What I like about the basketweave is when I'm teaching someone, it's nice that they never have to worry about switching directions. It's diagonal, and the same top right to bottom left motion throughout.
Unlike the stitches above, basketweave can only be done in diagonal formations. Which means it's usually best for a larger background area on a canvas (like our Berger Post-It Note).

While the graphics may look a little confusing, I promise that the stitch is a lot easier than you may think! Especially once you get the hang of it, it'll be like second nature to you. The basketweave stitch is pretty mindless and great to do when you're watching TV or riding in a car. It's fool-proof!
And those are your tent stitches, which are the most commonly used stitches in needlepoint and are great for beginners. Make sure to check out the corresponding how-to videos for my visual learners out there.


Hi
My Mum was very good at embroidery and did several tapestries, sadly she passed away before last Christmas, Mum had nearly completed a beautiful Butterfly tapestry all except for the antenna, I have never done tapestry and would love to finish it and get it framed, could I send you a picture, would you advise me on type of stitch, needle to use, etc. perhaps I could buy from you the materials I need.
Thankyou
Kind regards
Linda Player
Leave a comment